
[wp_show_posts id=”2457″]
Step 1: Choose Your Design
The way that you process your initial design is optional and can vary. You can use existing images on the web for inspiration or you can eyeball the design/shape manually from scratch.
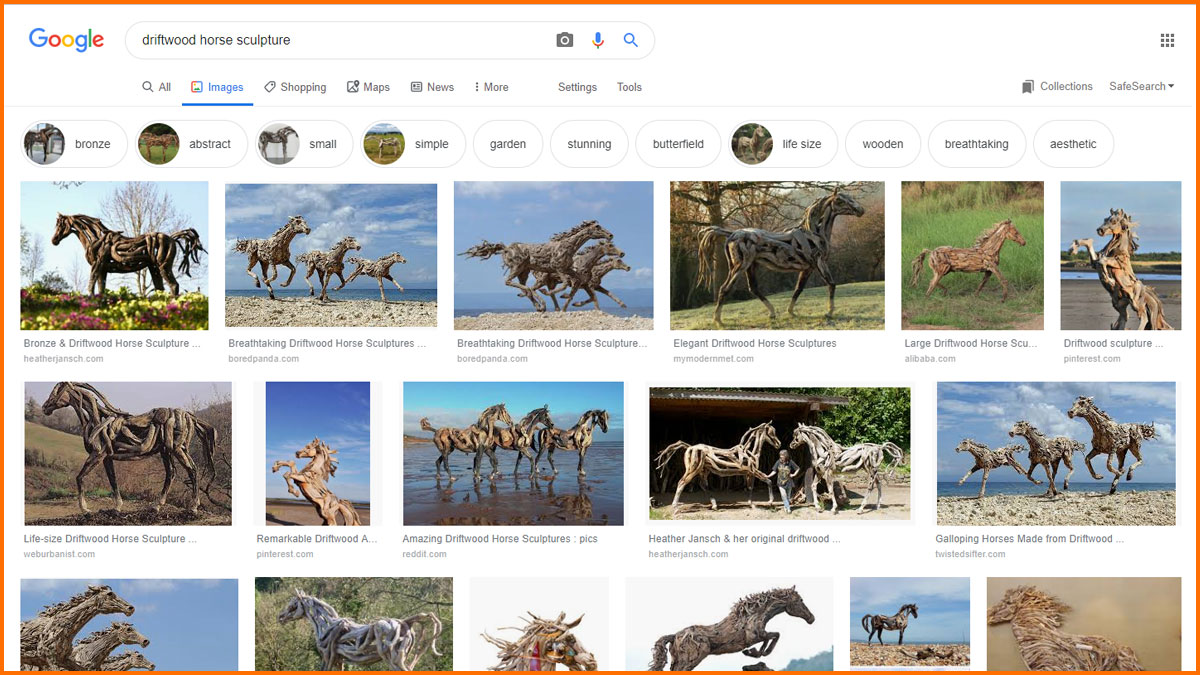
A quick Google search for “driftwood horse sculpture” will yield all kinds of designs and animal figures that you can use for reference.
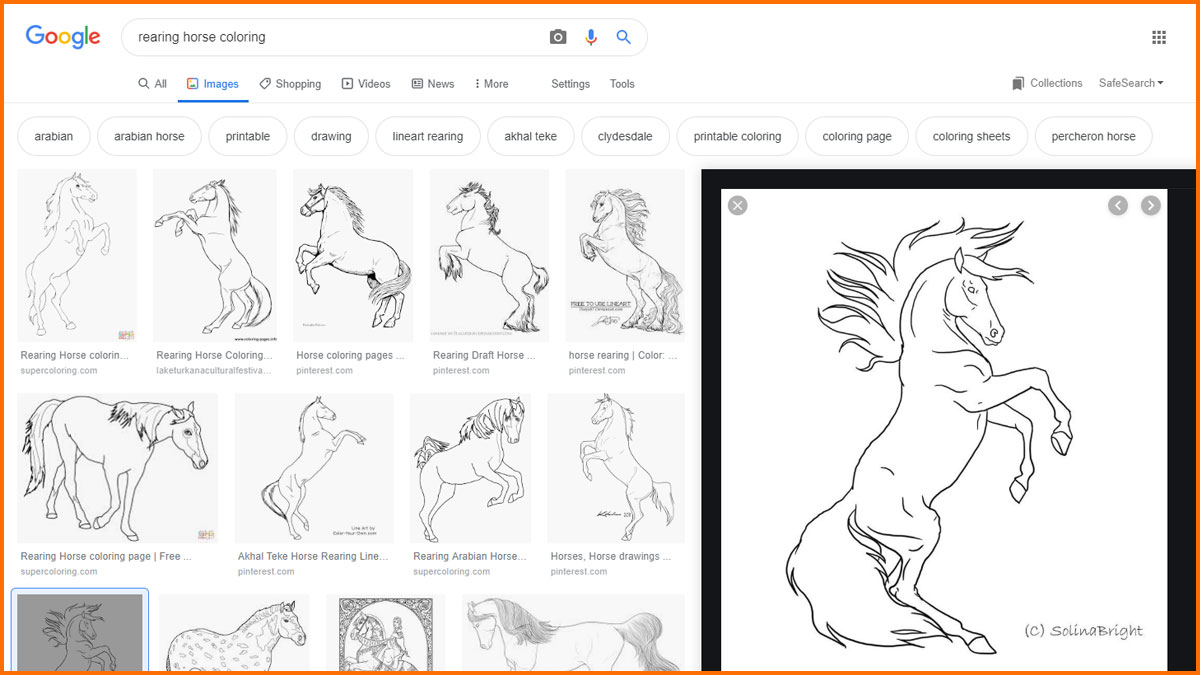
In this case, I decided that I liked the rearing horse stance the best. For a simplified silhouette of the desired stance, I did a Google image search for “rearing horse coloring”. This search yielded image results that were black and white and meant for coloring in.
When I found an image with proportions that I liked, I converted the image to a vector and modified it for cutting out on the CNC machine.
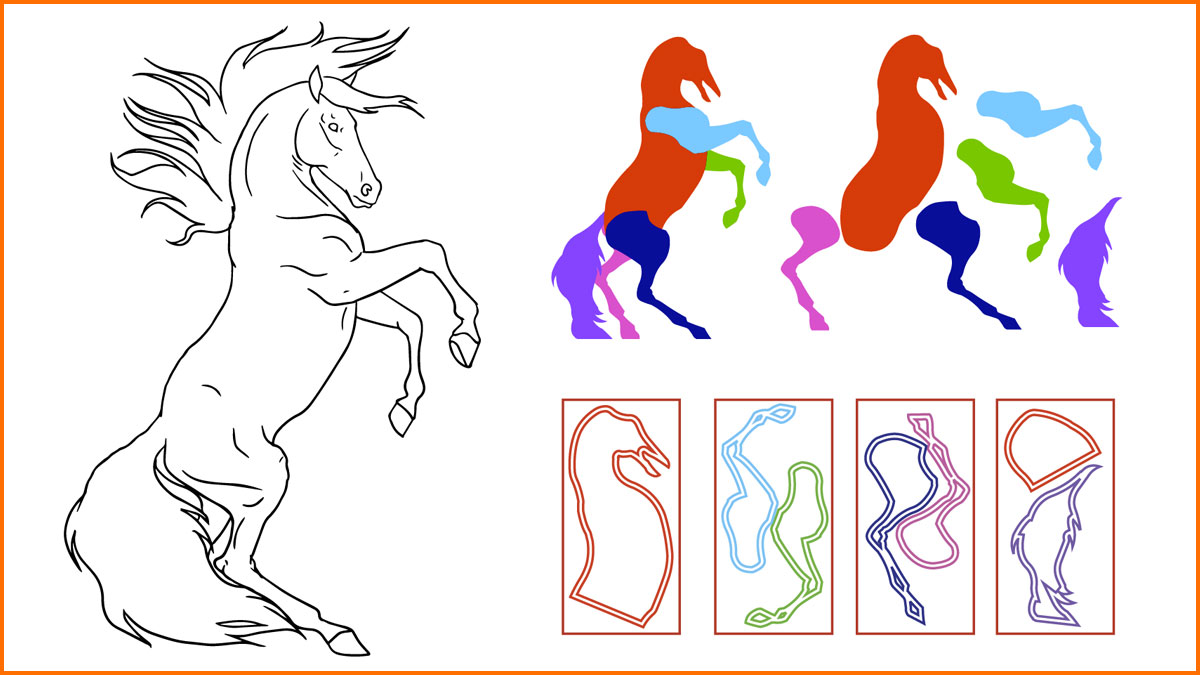
You can download these above vectors in the links below. There is both an Adobe PDF version and an Illustrator version depending on what programs you use:

The next step will detail assembling all of these wood cut outs into a “skeleton” frame of the horse.