
Step 4: Picking and Placing Wood
This step is the more artistic/creative part of the process. There are no clear rules as far as which pieces of wood go where – but there are some general guidelines you can follow so the process of adding wood evolves more gracefully.
I started by adding the pieces of wood that anatomically resembled a horse. For example, a long curved piece was added as the horse’s belly.

Pieces that resembled posed arms were placed as the horse’s arms and shoulders.
As pieces of wood are added and the structure is reinforced, I removed parts of the skeleton that were no longer needed.
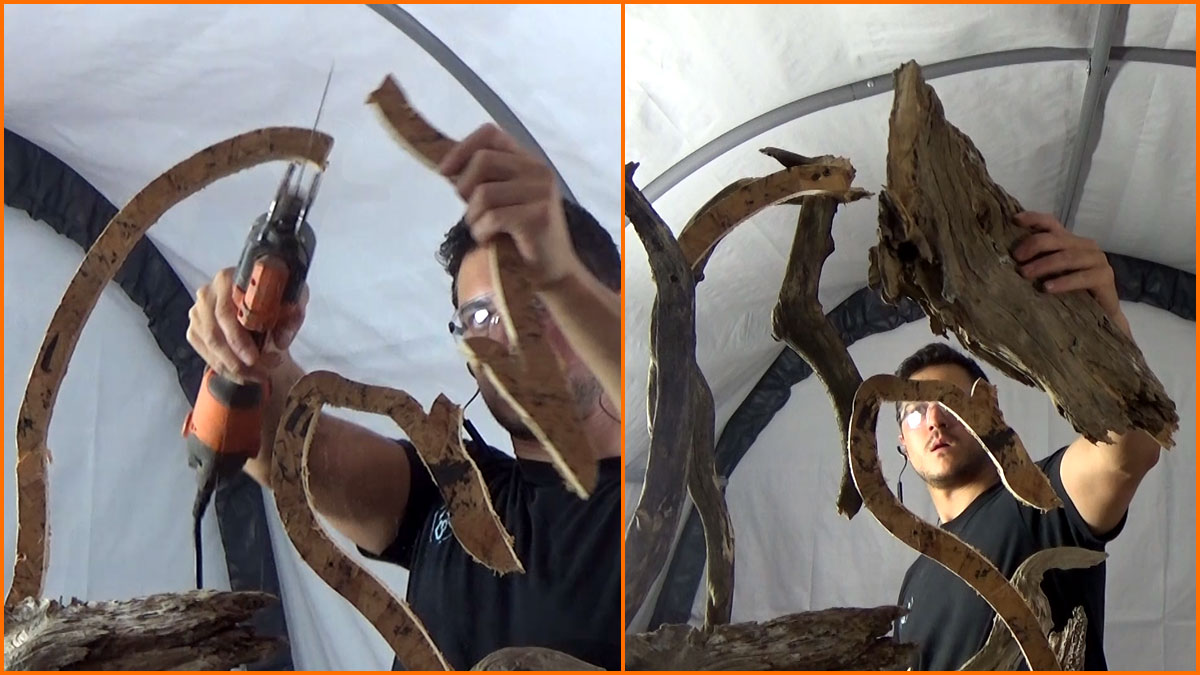
To get specific shapes to fit, I sometimes split pieces to get the desired proportions.
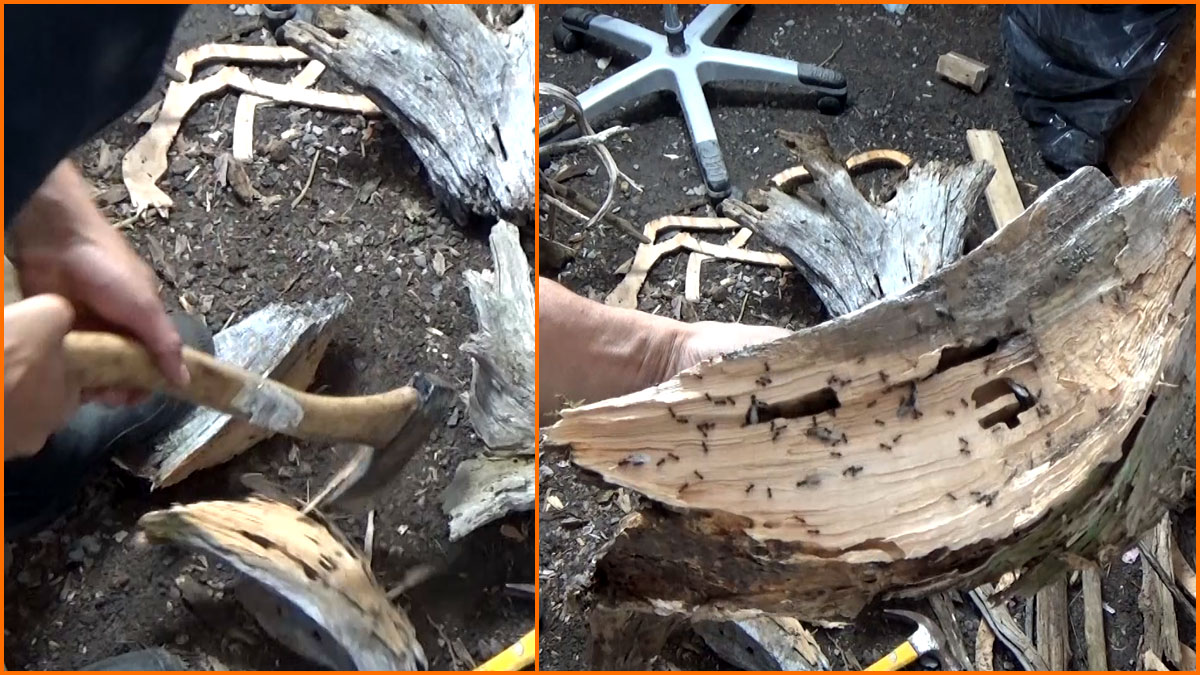
When the best pieces of wood were used up, I used the remaining bits to “fill in” the gaps of the body.
I did my best to the orient the remaining wood in positions that resembled the direction of the animal’s muscle fibers.

Now the all of the main body pieces are added, the next step is to hide and cover up any imperfections left by splintered wood or screw holes.